This is definitely the most invasive hardware hack I’ve ever done; even though it is not particularly difficult, it ended up being quite the undertaking for this noob. I’ll share a little bit about it to save anyone else who might try something similar some grief.
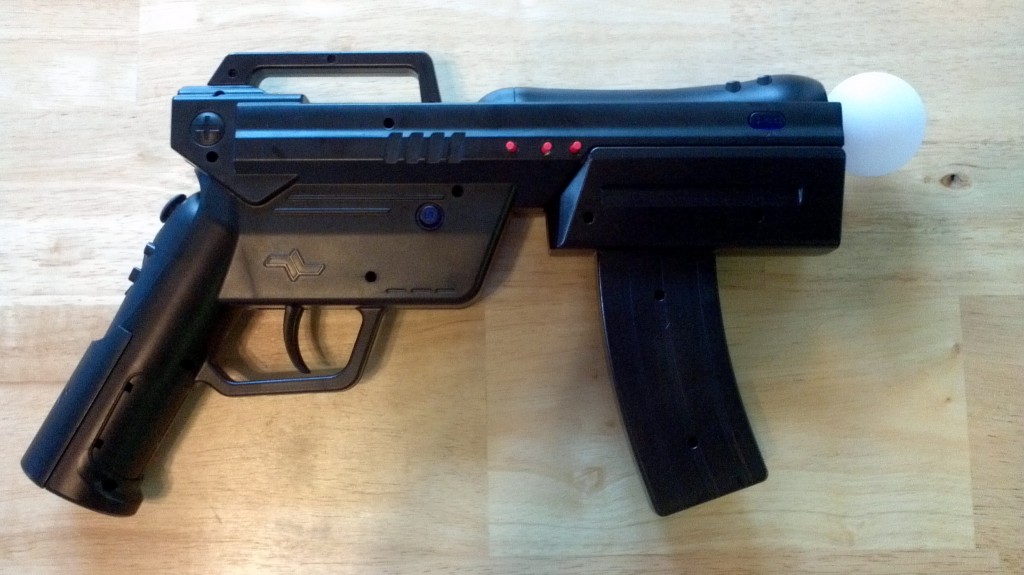
It all started when the PS Move came out, and I was immediately interested in the possibilities of using it as a gun in a FPS. Playstation sells a Move Sharp Shooter that will actually remap some of the buttons into more convenient locations, so that one doesn’t have to reach their hand up on top of the gun. For whatever reason, I didn’t want to hold the front of the rifle with my left hand to control the movement joystick (I think PS did this because if you used the Move before the accessory, you have already gotten used to holding this with your left hand). Instead, I went with the Battle Rifle
.
I quickly became frustrated when I needed to push a button on top of the move (which was frequently; for instance, crouching requires pushing the move button). I resisted the temptation to buy the Sharp Shooter, and instead started evaluating my hacking options. With the announcement of Move.Me, I thought Playstation would be making it easier to understand and hack the controller, but they’ve been dragging their feet to really get it started; furthermore, the port that it sounds like the Sharp Shooter uses to remap buttons is, as far as I can tell, quite unique. I don’t forsee being able to interface with it using a generic male connector any time soon.
So that left cracking the controller open to gain control over the buttons. I would have been more nervous about it if it hadn’t already been done here and here, leading me to believe it was somewhat straightforward. Furthermore, pics of the button pads left me optimistic about my ability to simulate button presses independently (basically, all I want to do is close each button’s circuit without using the controller buttons).
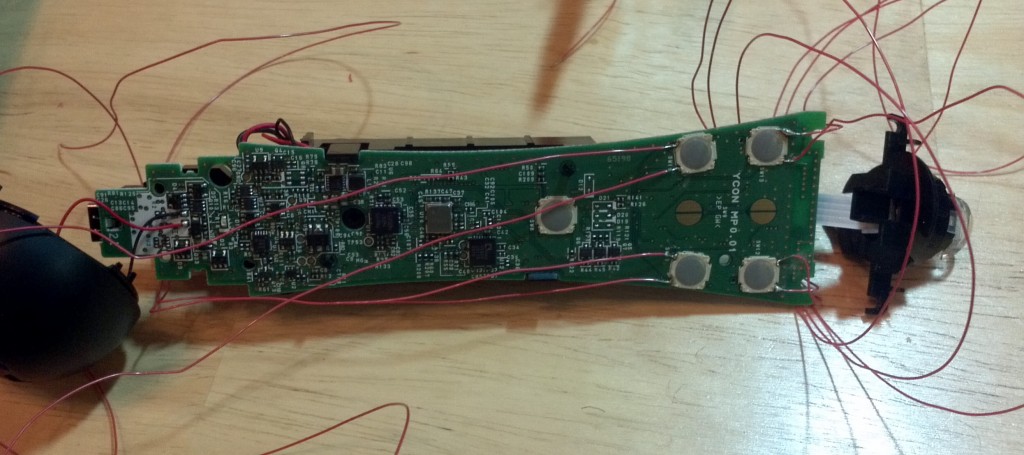
Once I got in there, I realized the soldering surfaces I had were much smaller than I anticipated, and any soldered connections would be tiny, and unable to support much stress whatsoever. I switched from 22 to 28 gage wire. The picture below shows how I soldered on the left and right side of each pad, as I discovered a button press closed the switch left to right (top and bottom on a give pad were already connected). I didn’t take the time to be careful about investigating them, but I learned later, unsurprisingly, that the buttons all shared a common ground, so I really only needed to bring out five wires for the four buttons.
I also soldered wires to each side of the copper semicircles (only the lower two) that are used to register the Move button (as opposed to the four push buttons, the move appears to rely on one of two pieces of conductive material to complete a circuit between either of the pairs of semi-circles). This had a lot of surface area to work with, but with all of these, I wanted the buttons to still work after I closed it up, so I kept the wires out to the edges of the copper pads. Not having solder there already made it a little more difficult, but not too bad. I didn’t care to wire up the bottom pad (PS button) or select/start buttons on the sides, as they’re rarely used during games.
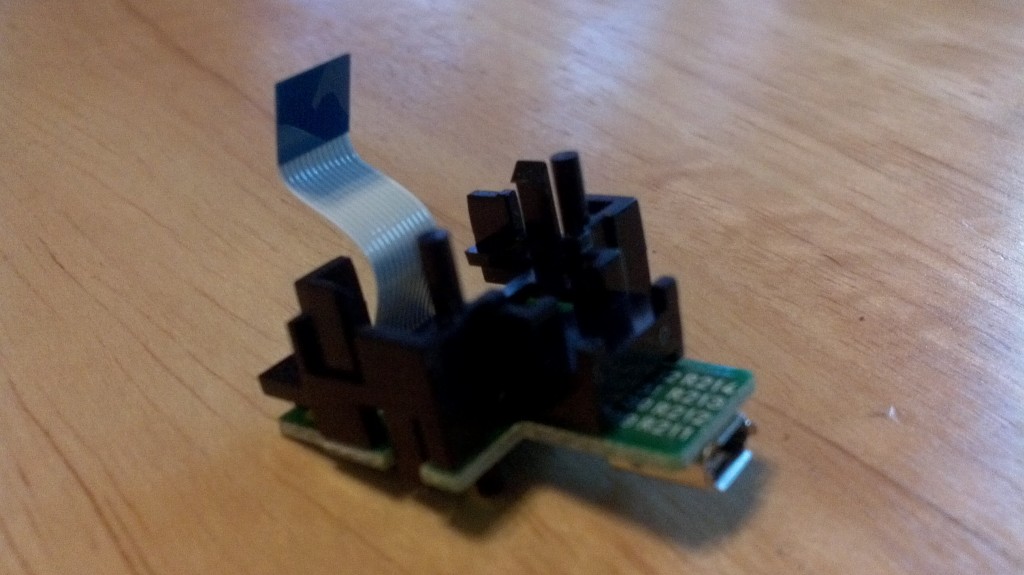
I had to remove the rear mystery connector; it was part of a little board that had to be unscrewed and unplugged from the rear of the controller (see right). That left a convenient little hole to run all of my new wires out of. I carefully strung them out along either side of the board, running them through some holes at the bottom of the circuit board to add an additional point of stress if they got pulled on, so that the solder would not have to bear any appreciable strain.
NOTE: I’ll take a second to say that I do not guarantee or recommend any of the methods I’ve used here. I’m sure this voids any warranty I had on the controller… Don’t blame me if you attempt something similar and your controller fails to work again or bricks your PS3. If you are dumb enough to follow my lead, be smarter than me and don’t do dumb things like fail to unplug the battery from the board. My pinkie tip really got zapped good when I inadvertently used it to close a circuit. It did not feel good.
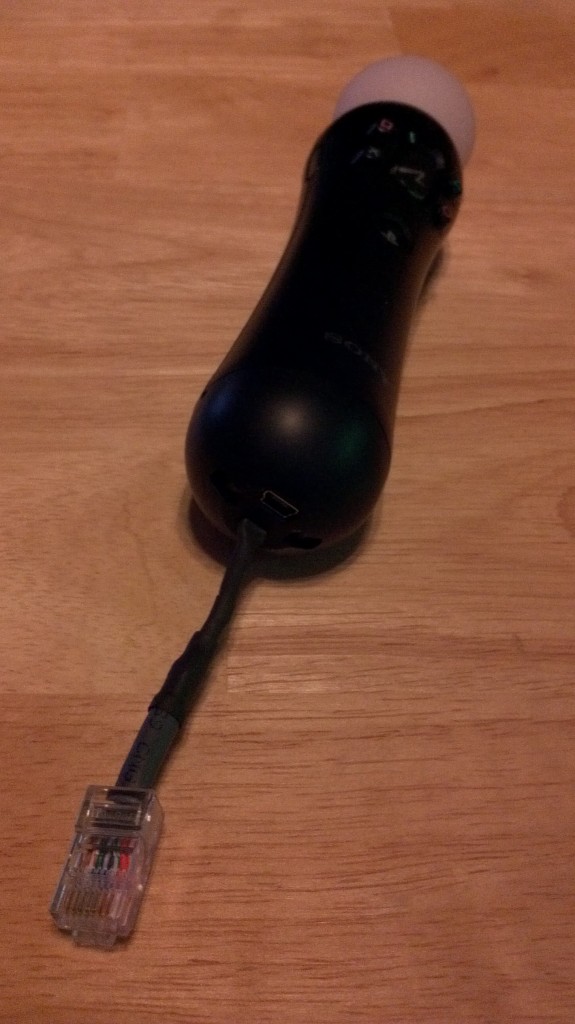 The next part was pretty much the hardest; or at least the most frustrating. I decided to terminate the wires in something that could easily disconnect from a harness I’d incorporate in the gun’s shell. I settled on an ethernet cable (RJ45). If I had a crimping tool, that might have worked well, and probably would have saved me gobs of time. As it was, I individually soldered each 28 gage wire to the wires from a cut up ethernet plug, each individually shrink-wrapped. Pain in the ass. I also wised up and only connected one ground for all five buttons. Once the black heat shrink has been applied, it actually looks pretty nice and is still very usable otherwise.
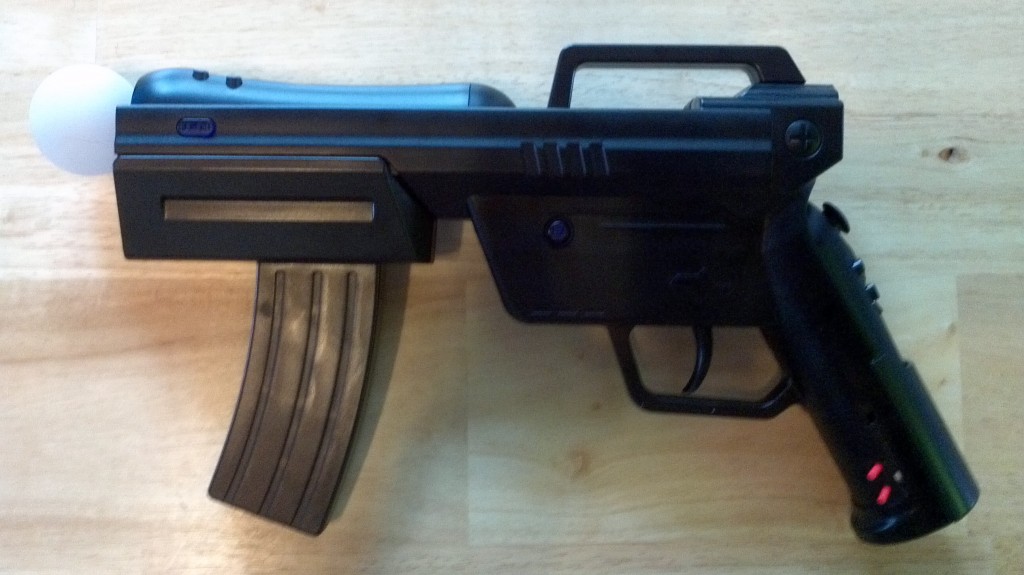
I drilled up the gun shell where I wanted my new, red buttons to go, and ran wires through holes I drilled in the gun’s skeleton. The wires ran to an ethernet socket, where I soldered everything together. The top of the gun actually had a nice recess that I could tuck the jack in, once plugged into my controller; I left enough slack in the wires that I could pull out the ethernet joint and manually disconnect it if I wanted to use the Move controller for another game or plug it in to charge it up (obviously, I can’t use a charging stand anymore).
All that was left was figuring out which wire corresponded to which button and solder it (plus the ground wire) to the appropriate red button that I subsequently glued (caulked, actually) into the controller. Pushing either the red or traditional controller button now closes the same circuit and elicits the same response from the PS3.
I definitely made a few mistakes and would do a few things differently next time. First, I’d like to try crimping into an RJ45 connector. My remapped square button already isn’t working (fortunately, reloading is gesture-controlled; it’s just really hard to pick up new weapons…). I suspect my soldered joint failed connecting the ethernet wire, and I’m not about to redo all of those connections (as I would have to if I wanted proper heat shrink on everything). When all the wires (six of them) come together in the gun cavity, I should have bound them together with tape or zip ties; I’ve already knotted them while pushing in/out the ethernet socket.
I haven’t played too much yet (working on Killzone 3), but I’m definitely enjoying it more than I did before. I understand it takes several hours of play time to really get used to it, so it remains to be seen how comfortable I will get with my layout. I’ll probably never know if this suits me better than the Sharp Shooter would; in the meantime, I learned a bit about what makes the controller tick, without comprimising any functionality (except of my pinkie for a couple days).

